Agents and consoles · step 7 of 8
An automation: an account for jobs on a server, with its own key
A job no person runs, on a server or in CI, the automatic tests and deployments after every code change, works as the organization’s automation: with rights of its own and a key valid until its term.
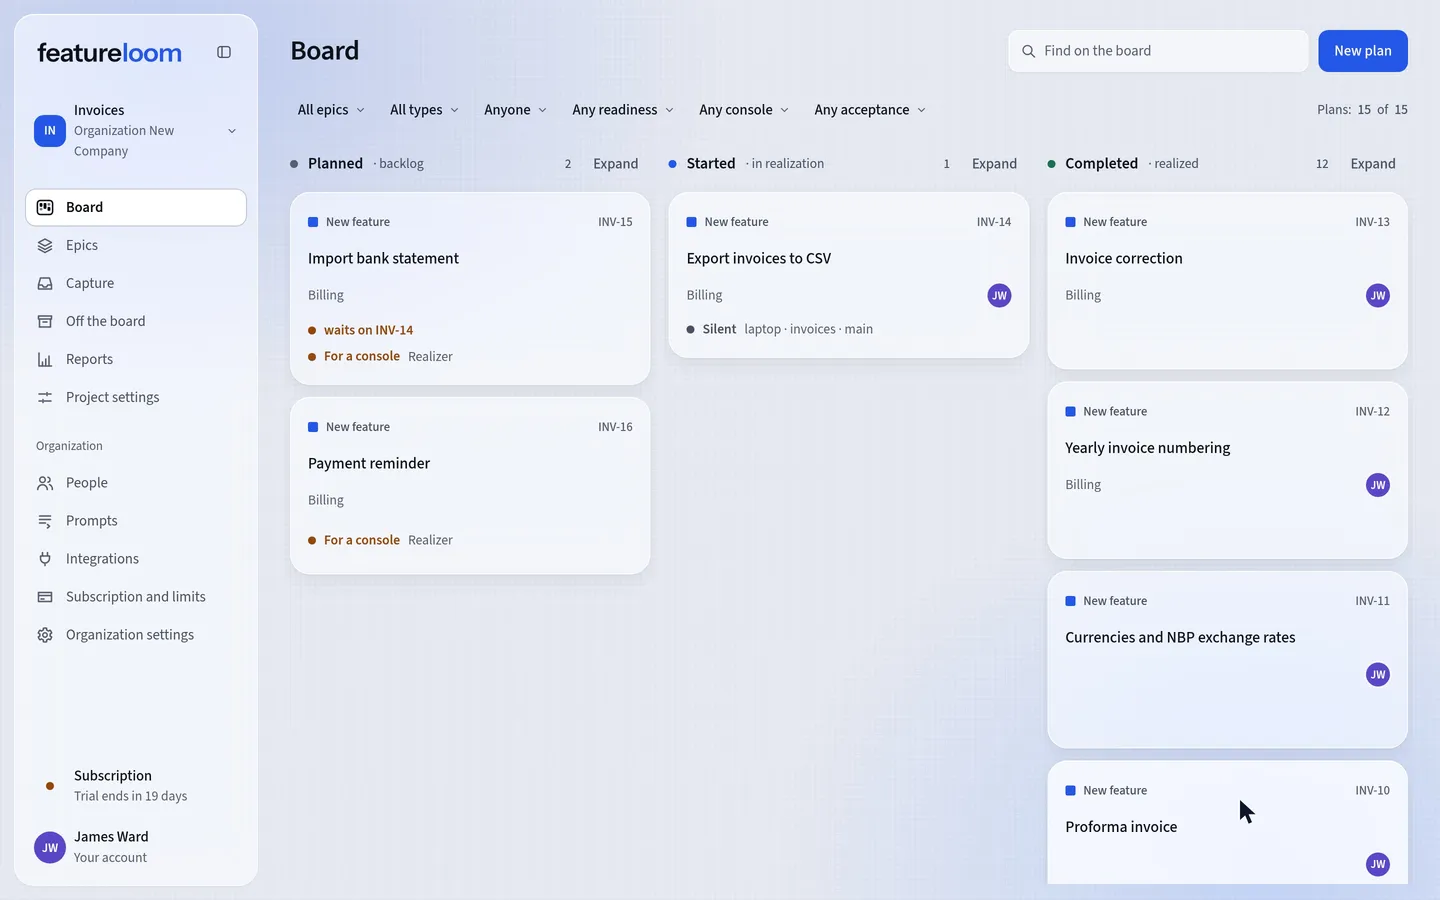 Play the film: An automation: an account for jobs on a server, with its own key
Contents
Create an automation
In the menu, open Integrations. On the Automations card, press New automation, type a name such as Nightly planner and choose its rights. By default an automation realizes plans. Writes plans, Edits prompts and Deletes permanently you add when the job needs them. Press Create automation. If the window first shows Confirm it’s you, confirm the way you sign in.
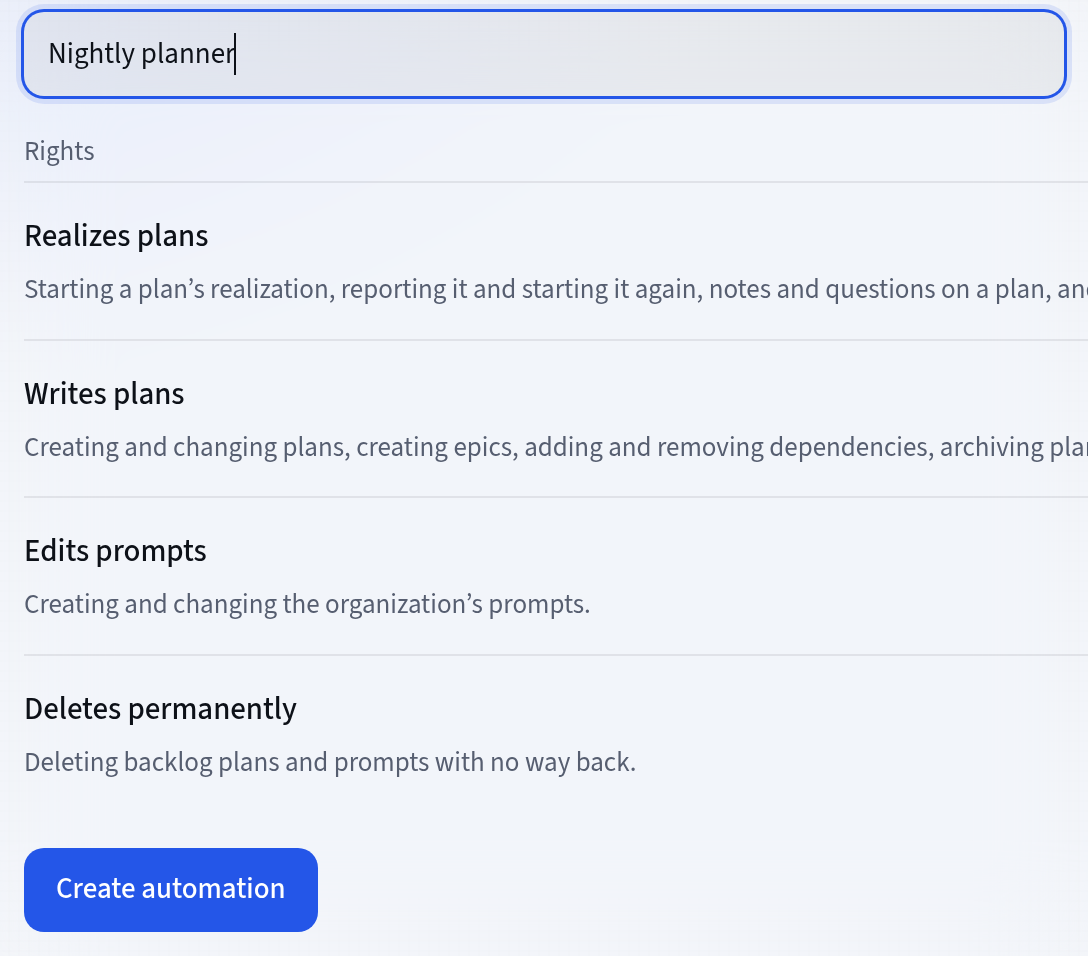
An automation with rights of its own The first enabled automation is part of the subscription, and each further one is a paid seat on the Team plan. When creating one adds a seat, the form names its price by the price list and the button reads Create and pay.
Create a key
In the automation’s row, press Keys. In the Valid for list, choose 30, 90 or 180 days, 90 by default, and press Create key. The Key created part shows a key that starts with
fla_and the ready commands that carry it. You see the secret only now: copy what you need before you press Done.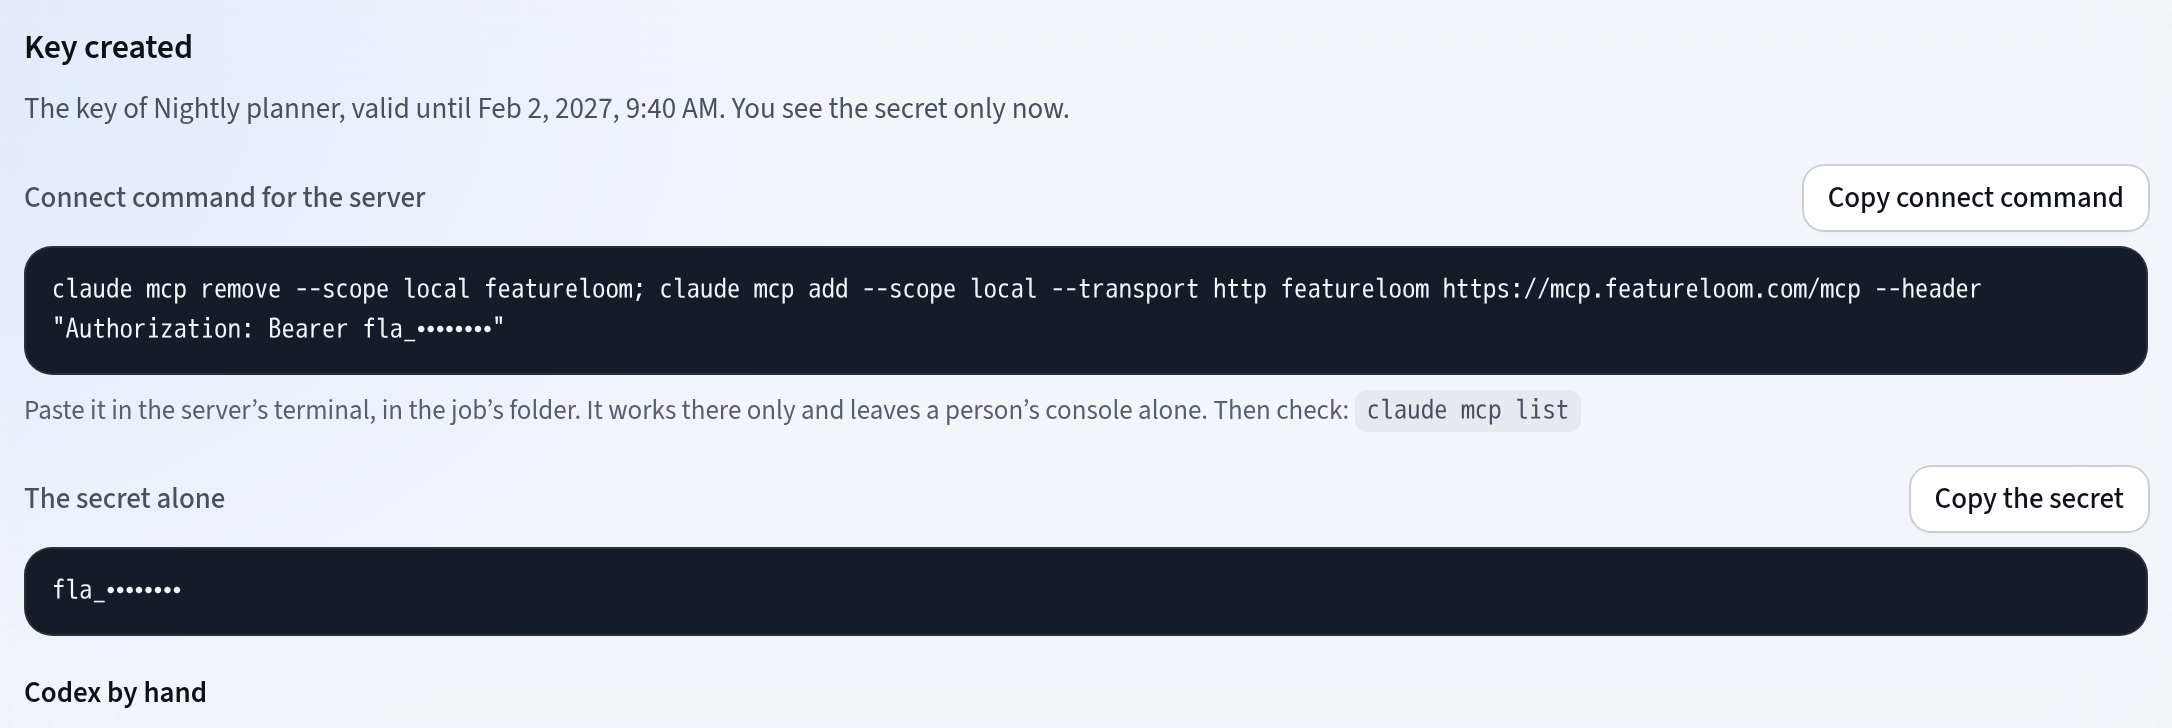
A key shown once The key is a secret: never in a repository or a chat. The organization’s other administrators get an email about the new key.
Connect Claude Code on the server
Paste the Connect command for the server in the server’s terminal, in the job’s folder. The
--scope localoption saves the connection for that folder only, so the command leaves alone the console of a person who works under the same account.claude mcp remove --scope local featureloom; claude mcp add --scope local --transport http featureloom https://mcp.featureloom.com/mcp --header "Authorization: Bearer fla_…"Check the connection in the same folder. featureloom shows ✔ Connected, and ✘ Failed to connect is most often a wrong or expired key.
claude mcp listfeatureloom: https://mcp.featureloom.com/mcp (HTTP) - ✔ ConnectedOn first use, Claude Code asks permission to use the featureloom tool. Allow it, and the automation fetches the prompt.
Give the key to Codex and to a CI job
Codex reads the key from an environment variable. In the Codex by hand part, copy the Block for the configuration file and add it to Codex’s configuration file: the block names the server’s address and the variable
FEATURELOOM_MCP_TOKEN, and the key itself never goes into the file. On the server, set the variable with the command of the Variable with the secret part:export FEATURELOOM_MCP_TOKEN=fla_…In CI, store the key as a secret in the CI settings, under the same name, never in the repository.
Revoke a key, disable or delete the automation
On the list of keys, Revoke at once cuts the server that uses this key off from your organization. Disable in the automation’s row pauses all its keys until you enable it again. Delete shows only for an automation that signed nothing. One that signed something you disable.
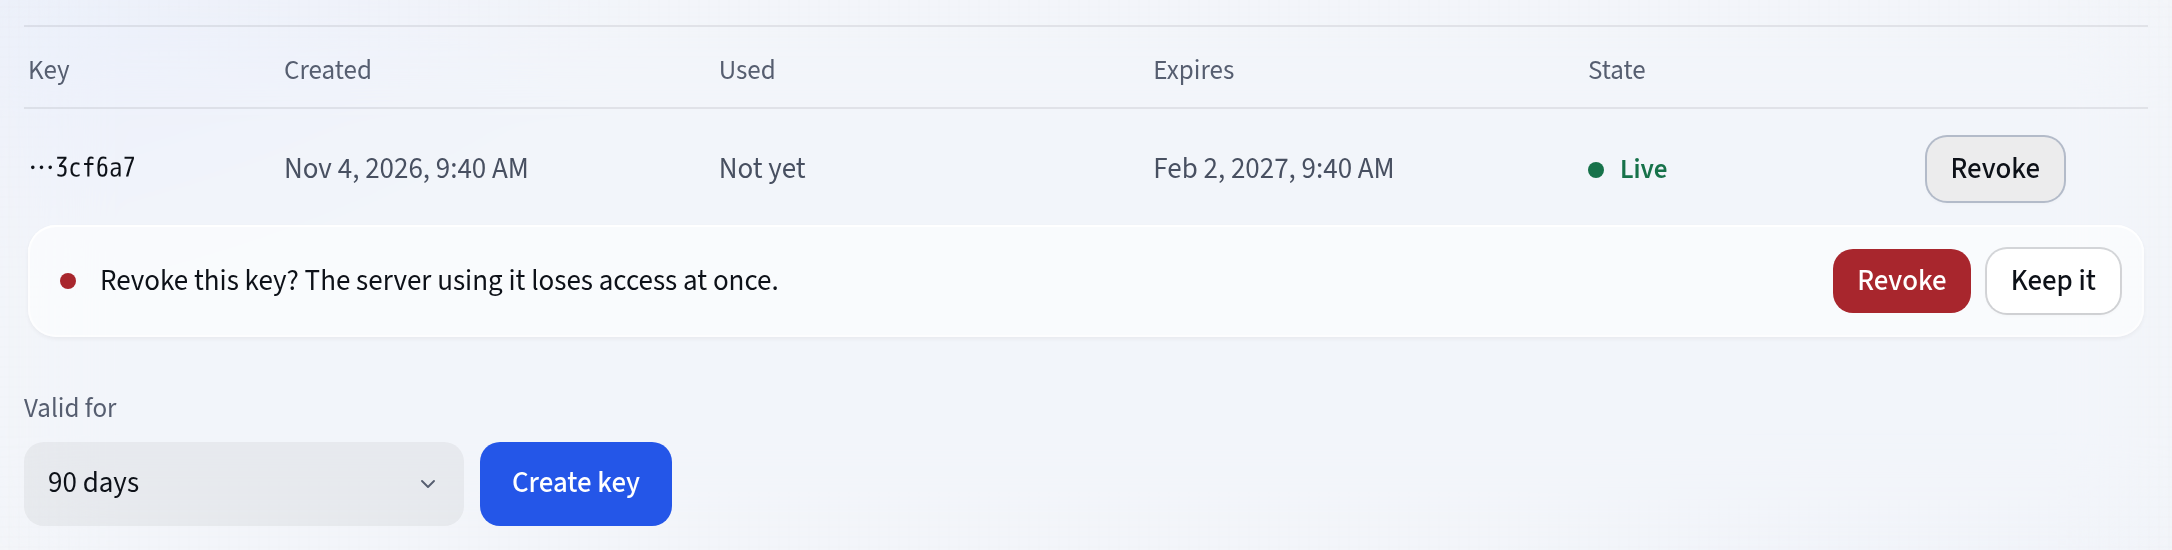
A revoked key stops working at once
Good to know
- An automation checks who it is with the `whoami` tool: the answer names it, its organization and its rights. Its signatures on the plans carry the automation’s name, not a person’s.
- You change an automation’s rights in its row with Rights. The change applies from the key’s next request.
- An organization has at most 20 enabled automations, and each automation a limited number of live keys at a time. You replace a key by creating a new one and revoking the old one.
- When a key starts working from a new place, the organization’s administrators get one summary email a day.
- The organization’s consoles and automations share one limit of requests per minute, set by the plan and the number of paid seats. Past it, the server asks to wait a moment.
Updated: November 5, 2026
Next
Slack: plan events on a channel
Your team sees on a Slack channel what happens to plans: a new plan, the start of realization, a question on a plan and finished work.
See the tutorial